my next project is someone elses. A UFO of a lovely inspirational lady, Joan is someone I have known practically my whole life, her husband used to take me to kindy, & they gave me one of my first jobs as a teenager. Joan is kind & patient & I don't recall her ever being cross with me. She has always encouraged my own craftiness & I have several treasured things which she made for me & my daughter.
So to return some kindness, I offered to complete a piece of goldwork for her. Something she hasn't worked on for at least 5 years, due to several moves, reducing eyesight & as she says "impatience with the fine work required".
Here is what she has started:
& a close up.
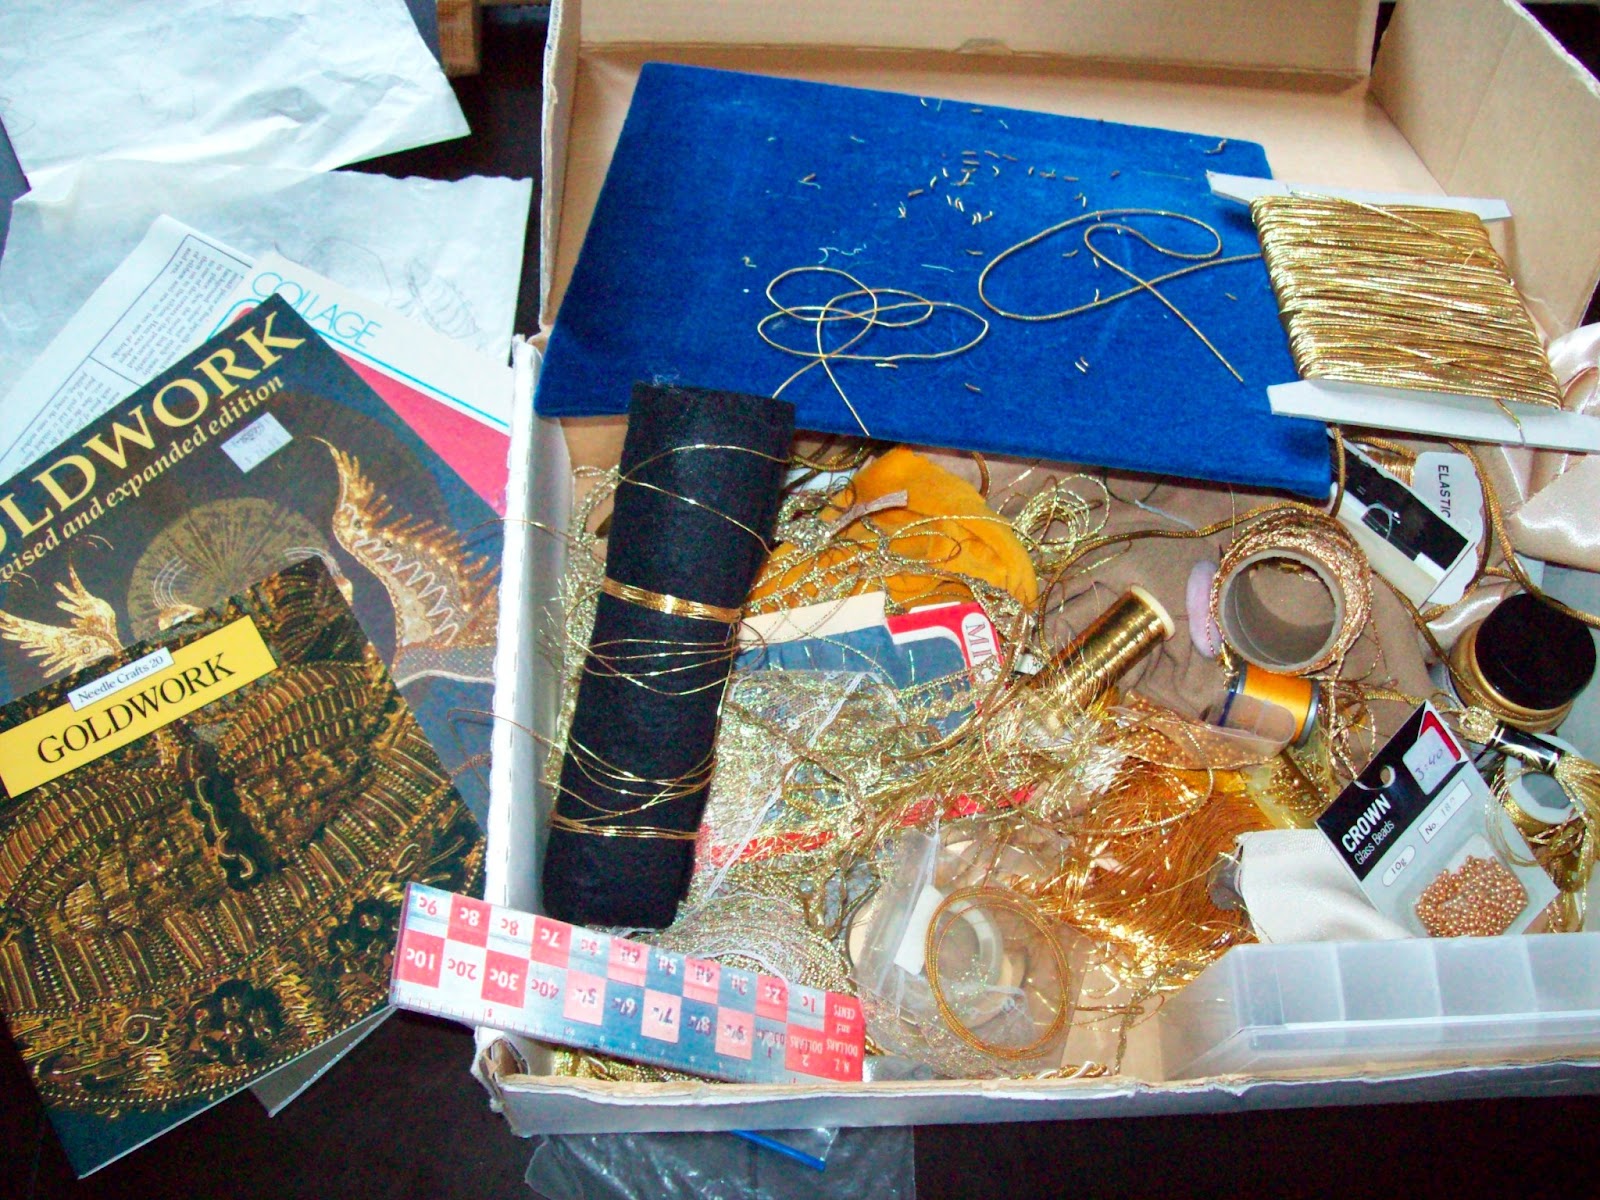
Then I got given the box of supplies... oh wow!
Yikes! no pattern, no set rules... deep breath, challenge accepted! this is pretty exciting, kits make doing a particular technique easier. With rules, step by step instructions, you normally get a pic to show what it 'should' look like at the end... with this it's more up to me. pushing me outside my comfort zone with this technique.
Firstly, I organise...
one thing I like about this 'Egyptian Head' is that the part which is finer goldwork, is the hair, or as I like to think of it, the Brain. As the brain is segmented into areas, this is lending itself to applying different techniques.
Oh and I have a new tool - proper goldwork scissors, which Mum ordered through the class we took together:
One of the blades(?) is serrated which should make the cutting of gold thread easier with neater ends.
Oh, and lastly - tip of the week (from Mum) - we are spraying out flutterby & dragonfly with hairspray, to keep them from tarnishing & help them stay nice for longer.